
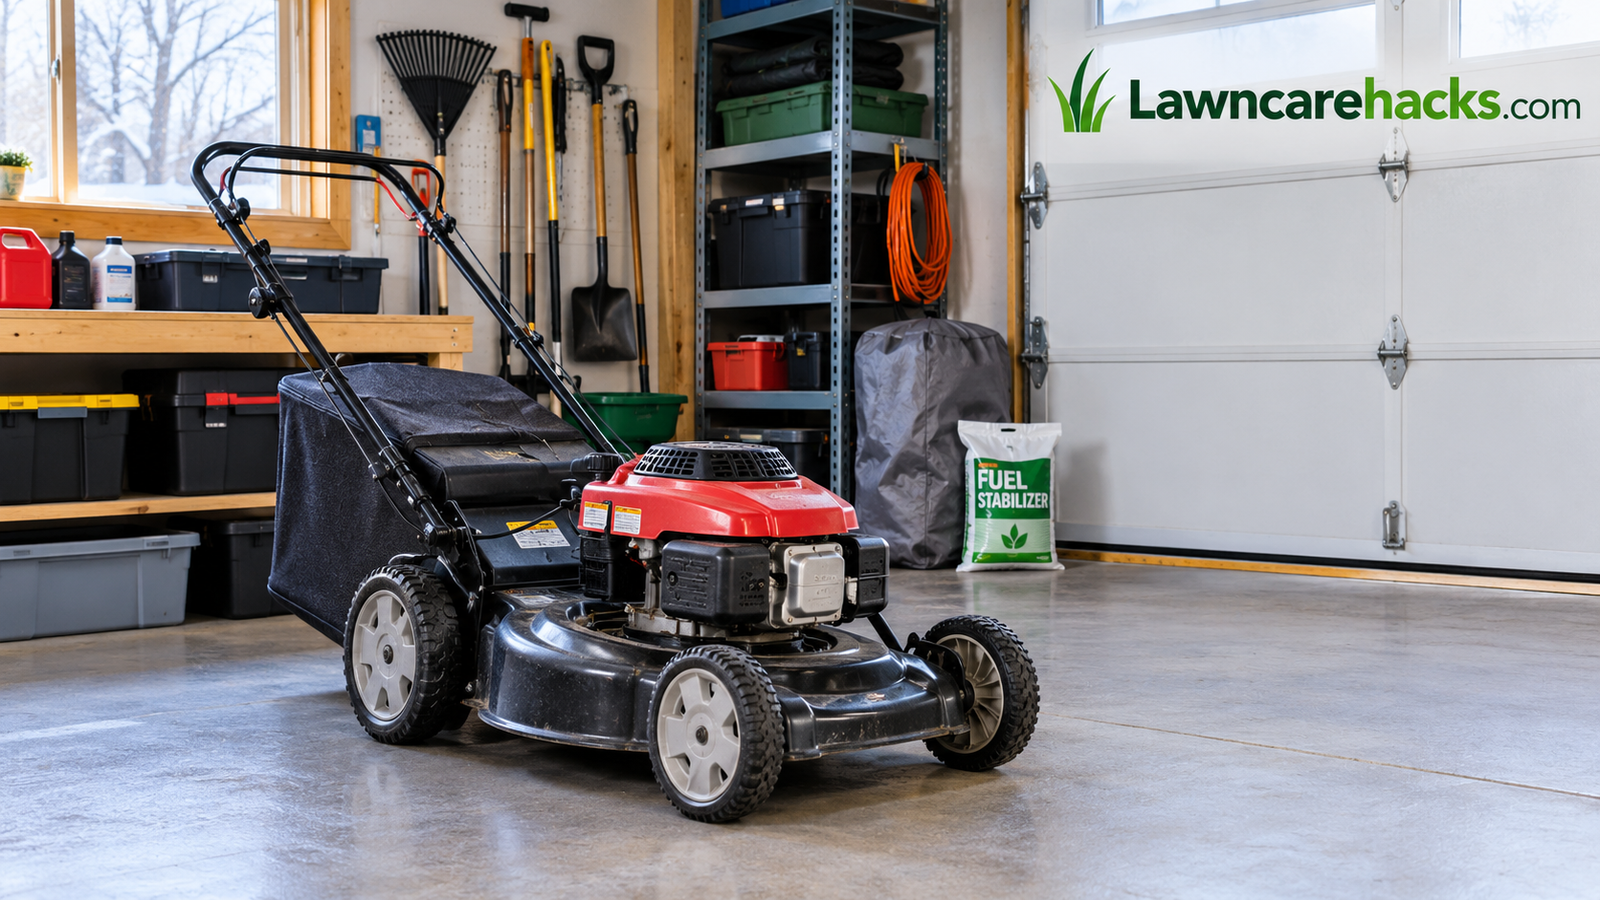
Lawn Mower Maintenance Guide
How to Winterize a Lawn Mower: The Complete Step-by-Step Guide
There is a particular kind of disappointment that arrives on the first warm Saturday of spring. The grass is shooting up, the neighbors are already out mowing, and your mower, which ran perfectly fine in November, coughs twice and goes silent. Nine times out of ten, the culprit is not a worn-out engine. It is stale fuel gumming up a carburetor, a battery that quietly drained over winter, or a deck packed with fossilized grass that has been holding moisture against bare steel for months.
Winterizing your lawn mower is the cheap, boring, deeply satisfying chore that prevents all of that. It takes an afternoon, costs a few dollars in supplies, and can add years to the life of your machine. This guide walks you through the entire process, from deciding when to start to what to do on the first spring morning, with a clear diagram for every step so you can follow along even if you have never opened a mower’s air filter housing before.
Whether you own a push mower, a self-propelled model, a riding tractor, or a cordless battery mower, you will find the specifics here. Grab a coffee and let’s get your mower ready to sleep through the cold.
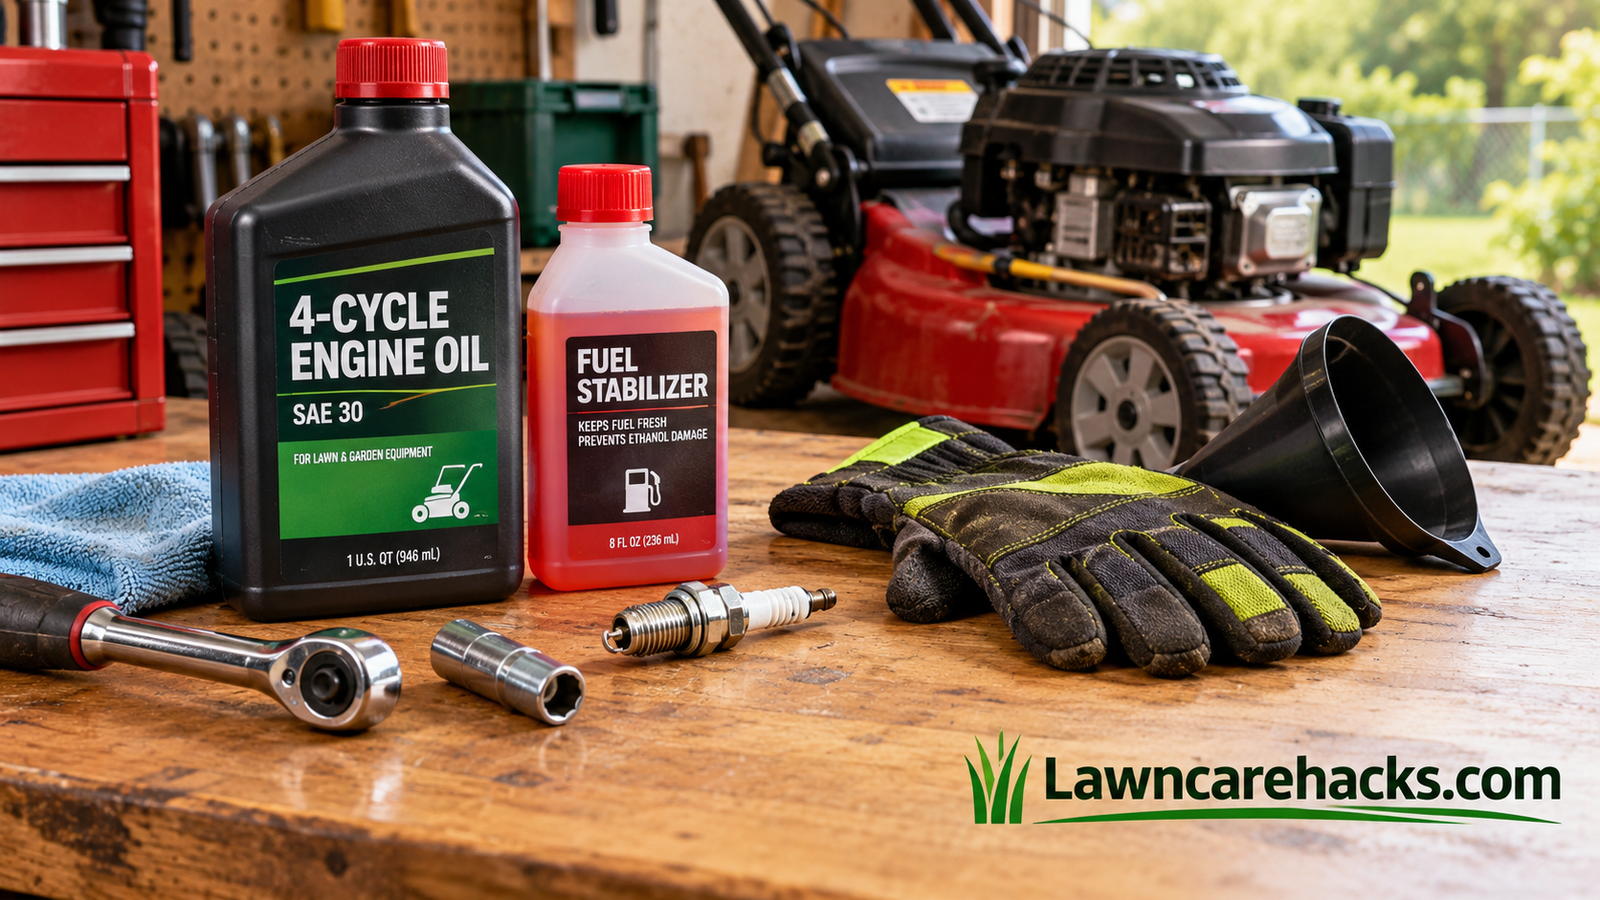
Table of Contents (tap to open)
Why Winterizing Your Lawn Mower Actually Matters
A mower is a surprisingly demanding little machine. It spins a steel blade at high speed, throws grass, dirt, and moisture around its underside, and relies on a small engine that was designed to run in the open air for a few hours a week. When you stop using it for three or four months, none of the things that can quietly go wrong take a break. They keep happening, slowly, in the dark corner of your garage.
The biggest enemy is fuel. Modern pump gasoline usually contains ethanol, and ethanol attracts water. Left in a tank or carburetor bowl for a month or two, the fuel begins to break down, leaving behind varnish and sticky deposits that clog the tiny passages in the carburetor. Those passages are often thinner than a pinhead. Once they are blocked, the engine will either refuse to start or run rough and surge. A carburetor cleaning or replacement can easily cost more than the entire winterizing routine many times over.
The second enemy is moisture and rust. Wet grass clippings stuck to the underside of the deck hold water against the metal like a damp sponge, and over winter that becomes rust and corrosion. Old oil carries acids and combustion byproducts that can pit internal surfaces if left to sit. Even a rubber drive belt can develop flat spots or crack if it sits under tension in a cold garage.
Finally, there is the human factor. A mower that is cleaned, serviced, and stored properly is simply more pleasant to own. It starts on the second pull, cuts cleanly, and does not leave you spending your first spring weekend on a repair project. Think of winterizing as the maintenance you do now so you can ignore the mower later.
What You Gain by Doing It Right
- Easier spring starts: clean fuel and a fresh spark plug mean the engine fires quickly.
- Longer engine life: fresh oil and a protected cylinder resist corrosion.
- Better cut quality: a sharp, balanced blade gives a cleaner cut that your grass recovers from faster.
- Lower repair bills: most of the common spring repair jobs come from skipping one of these steps.
- More resale value: a well-kept mower looks and runs better if you ever sell it.
When to Winterize Your Mower (And the Right Order to Work In)
The best time to winterize is right after your final mow of the season, not the week the first snow is forecast. Doing it at the end of your mowing season has two practical advantages. First, the engine is already warm and the oil is hot, which makes draining it faster and more complete. Second, the grass clippings on the deck are still slightly damp and soft, so they come off far more easily than they will after sitting and hardening for a month.
For most regions, that final mow arrives somewhere between late October and early December, depending on how cold your area gets and when the grass stops growing. If you are not sure when that moment is, our guide on when to stop mowing your lawn explains the signs, from slowing growth to consistent frost, so you can time your last cut and your winterizing day together.
A Simple Seasonal Timeline
| Climate | Typical Last Mow | Ideal Winterizing Window |
|---|---|---|
| Cold northern regions | Mid-October to early November | Within a week of the last mow |
| Mid-latitude regions | Early to late November | Within a week or two of the last mow |
| Mild southern regions | Grass may grow slowly all winter | Only if you will store it for 30+ days |
Does It Matter Which Order You Do the Steps?
Yes, a little. The sequence in this guide is deliberate. You deal with the fuel first because the engine needs to run for a few minutes afterward, and you want it warm for the oil change that follows. You pull the spark plug before you tip the mower for blade work, because it removes the chance of an accidental start. You clean the deck before you sharpen the blade, because a clean underside lets you see what you are doing. Battery care and storage come last, when the mower is ready to be put away.
Block out about two to three hours the first time. Once you have done it once, the whole process often drops to ninety minutes. Pick a dry, mild day, work outdoors or in a well-ventilated garage, and keep your phone handy for taking a quick photo of anything you remove so you can put it back exactly as it was.
Tools and Supplies You Will Need Before You Begin
Nothing derails a maintenance afternoon like discovering halfway through that you do not own a spark plug socket. Gather everything before you start. The list below covers a typical gas push or self-propelled mower, and most of the items double as general garage tools you will use again.
The Essential Supplies
- Fuel stabilizer that is rated for ethanol-blended gasoline.
- Fresh engine oil of the type listed in your owner’s manual. Many small engines use SAE 30 or 10W-30, but always confirm.
- A replacement spark plug that matches the model number in the manual.
- A fresh air filter (foam or paper, depending on your model).
- Fogging oil or a small amount of clean engine oil for the cylinder.
- A drain pan and a funnel for the oil change.
- Shop rags and a wire brush for cleaning.
- A plastic putty knife or deck scraper for caked-on grass.
The Essential Tools
- A spark plug socket (commonly 5/8 inch or 13/16 inch) and a ratchet.
- A socket or wrench that fits your blade bolt, plus a block of wood to hold the blade still.
- A mill file or a bench grinder for sharpening, and a blade balancer or a simple nail on the wall.
- A torque wrench is a nice extra for reinstalling the blade bolt to spec.
- Safety glasses and sturdy gloves.
Nice-to-Have Extras
A battery maintainer will keep a riding mower or lead-acid battery healthy all winter. A breathable mower cover protects against dust without trapping moisture. A can of silicone or lithium grease lubricates cables and pivot points, and a small tube of dielectric grease protects electrical connections from corrosion.
| Item | Why You Need It | Rough Cost |
|---|---|---|
| Fuel stabilizer | Prevents fuel breakdown and varnish | Low |
| Engine oil | Removes acidic used oil before storage | Low |
| Spark plug | Easy spring starts and clean combustion | Low |
| Air filter | Keeps dirt out of the engine | Low |
| Battery maintainer | Prevents dead batteries in spring | Moderate |
| Blade sharpener | Clean cuts and healthier turf | Low to moderate |
Total cost for the consumables is usually a fraction of what a single shop tune-up would charge. If you buy the items once, you will reuse the tools for every season to come.
Stabilize or Drain the Fuel
Fuel is the single most important thing to get right. You have two good options: treat the fuel with a stabilizer and leave it in the tank, or run the tank nearly dry and drain whatever is left. Both work. The choice mostly comes down to your habits, your climate, and how long the mower will sit.
Option A: Add Stabilizer and Store a Full Tank
This is the method most homeowners prefer. Fill the tank with fresh gasoline, leaving a little room for expansion, then add fuel stabilizer according to the dose printed on the bottle. Start the engine and let it run for about five minutes. That final step is easy to skip and shouldn’t be skipped: it pulls the treated fuel through the fuel line and into the carburetor, so protection reaches every part of the system rather than only sitting in the tank.
A mostly full tank also leaves less empty air space inside, which means less room for humid air to condense into water droplets over the winter.
Option B: Run the Tank Dry and Drain the Carburetor
If you would rather leave no fuel behind, run the engine until it stalls from lack of fuel, then drain any remainder from the carburetor bowl if your model has a drain screw. Siphon any leftover gas from the tank into an approved container. This approach removes the source of the problem entirely, but it demands a bit more care. Residual fuel in the carburetor can evaporate and leave a gummy film, so a short stabilizer treatment is still wise if you have a stubborn history of carburetor trouble.
| Factor | Stabilizer Method | Drain Method |
|---|---|---|
| Effort | Very easy | Moderate |
| Risk of gummed carburetor | Low if run for five minutes | Low if fully drained |
| Storage safety | Gasoline stays in the machine | No fuel stored in the mower |
| Best for | Most homeowners | Tight indoor spaces, long storage |
Pros of Stabilizer
- Fast and beginner friendly
- Protects the whole fuel system
- Starts easily in spring
Cons of Stabilizer
- Gasoline remains in the machine
- Old, untreated fuel can still be a problem
- Needs to be fresh gas to start with
One final tip: store gasoline cans outside living spaces, in a ventilated shed or detached garage, and label any container with the date you filled it. If you have leftover treated fuel, you can pour it into your car’s tank in small amounts and the dilution will be harmless.
Drain the Old Oil and Refill with Fresh Oil
Used oil is full of combustion byproducts, moisture, and tiny metal particles. Leaving it in the crankcase over winter lets those contaminants sit against the engine’s internal surfaces for months. Draining it now, while the engine is warm from Step 1, means the oil flows out quickly and carries more of the suspended gunk with it.
How to Change the Oil
- Make sure the fuel work from Step 1 is finished and the engine is warm but not scalding hot.
- Disconnect the spark plug wire as a precaution.
- Place the drain pan under the drain plug or, on mowers without one, prepare to tip the mower on its side with the air filter and carburetor facing up.
- Remove the drain plug (or the oil fill cap on tip-drain models) and let the oil flow completely out.
- Replace the plug, then refill through the fill port, checking the dipstick often so you do not overfill.
- Wipe up any spills, and recycle the used oil at an auto parts store or municipal collection site.
Check your owner’s manual for the correct oil type and capacity. Most four-stroke small engines hold less than a quart, which makes the job quick. Two-stroke engines, which use pre-mixed fuel and oil, do not have a crankcase to drain and can skip this step entirely.
Choosing the Right Oil
| Oil Type | Best For | Notes |
|---|---|---|
| SAE 30 | Warm weather mowing | Common on simple push mowers |
| 10W-30 | Wide temperature ranges | Easier cold starts in spring |
| Synthetic 5W-30 | Premium engines, cold starts | Very good protection, costs more |
While the old oil is draining, take a moment to look at it. Milky or foamy oil can hint at water contamination. Metal glitter points to internal wear. A strong fuel smell suggests the carburetor may be flooding. These are not common, but they are worth catching in the fall when you have time to deal with them.
Replace the Spark Plug and Protect the Cylinder
A spark plug is one of the cheapest parts on your mower, and one of the most influential. A fouled or worn plug causes hard starts, rough running, and wasted fuel. Replacing it each fall gives you a clean start in spring, and removing it gives you access to the cylinder, which is where a little bit of oil goes a long way toward protecting the engine over winter.
Removing and Replacing the Plug
- Pull the rubber boot off the old spark plug.
- Use the spark plug socket to loosen and remove it.
- Inspect the old plug. Light tan deposits are normal. Black, wet, or heavily corroded electrodes can point to a tuning or oil issue.
- Check the gap on the new plug with a feeler gauge. Small engines commonly use around 0.030 inch, but follow the number in your manual.
- Thread the new plug in by hand first to avoid cross-threading, then snug it with the wrench. Do not over-tighten.
Add a Little Oil to the Cylinder
With the plug out, pour about a teaspoon of clean engine oil, or a few seconds of fogging oil spray, into the spark plug hole. Gently pull the starter cord a few times to spread the oil across the cylinder wall. This leaves a thin protective film on the piston and cylinder, which resists rust and corrosion during the cold months. Wipe up any oil that splashes out, and put the new plug in afterward.
Why Replace Each Fall
- Inexpensive and quick
- Improves starting reliability
- Lets you inspect the engine’s health
Common Slip-Ups
- Cross-threading the plug
- Skipping the gap check
- Over-tightening and damaging the head
If your engine is an electric start model with a battery, keep the battery disconnected during this step so the engine cannot spin unexpectedly.
Clean the Deck and Undercarriage
Open up the underside of a mower after a long season and you will often find a thick armor of compacted grass. It is not just unattractive. It holds moisture against the steel, speeds up rust, and reduces the airflow that makes the mower cut and discharge cleanly. Cleaning it now, before winter, is one of the most satisfying parts of the whole job.
Preparing the Mower
Make sure the spark plug wire is disconnected, the fuel is treated, and the fuel tank is as close to the high side as possible. Tip the mower so that the carburetor and air filter face up, which keeps fuel and oil from running into the air system. If you have a mower with a garden hose washout port on the deck, you can connect a hose and run the engine briefly. But a manual scrape is still the most thorough method.
The Cleaning Process
- Use a plastic putty knife or deck scraper to knock off the thick layers of dried grass.
- Work the scraper along the edges, around the blade mounting area, and into the discharge chute.
- Finish with a stiff brush and a gentle hose rinse, avoiding the engine and any air intake areas.
- Let the deck dry completely, either in the sun or by wiping it with an old towel.
- Optionally, spray a thin coat of silicone spray or a deck coating on the clean surface to slow future buildup.
Do Not Forget the Top Side
Wipe down the top of the deck, the handle, the wheels, and the engine cover. Use a soft brush or compressed air to clear grass, dust, and leaves from around the cooling fins, which are the thin metal ridges on the engine that shed heat. Blocked fins make the engine run hot, so a quick clean here is a worthwhile habit. If your fall cleanup also involves clearing leaves from the lawn, a tool like a lawn sweeper can help, and our explainer on whether lawn sweepers actually work will help you decide if it is worth adding one to your shed.
Remove, Sharpen, and Balance the Blade
A dull blade does not cut grass so much as tear it. Torn grass tips turn brown, lose moisture, and become more vulnerable to disease. Sharpening the blade at the end of the season means it is ready to go, and you will not be rushed to do it when spring mowing starts. It also gives you the chance to check the blade for cracks, bends, or heavy wear.
Removing the Blade Safely
- Disconnect the spark plug wire and make sure the mower is tipped with the air filter side up.
- Use a block of wood to wedge the blade so it cannot turn.
- Loosen the blade bolt (usually turning counter-clockwise), taking note of which side of the blade faces down. A quick photo helps.
- Lift the blade off and inspect it for cracks or heavy bends. Replace it if it looks damaged.
Sharpening and Balancing
Clamp the blade in a vise and use a mill file to follow the original bevel, which is usually around 30 to 45 degrees. Push the file away from your body, along the cutting edge, in smooth strokes, removing the same amount from each side. A bench grinder is faster, but go slowly so you do not overheat and soften the metal. You are looking for a clean, bright edge, not razor sharp. A mower blade only needs to be sharp enough to slice cleanly.
Once both edges are even, check the balance. Hang the blade on a nail or use a blade balancer. If one side dips, file a little more from the heavy end until the blade sits level. An unbalanced blade causes vibration that can damage bearings and make the mower unpleasant to use.
| Method | Speed | Precision | Best For |
|---|---|---|---|
| Hand file | Slow | High | Careful DIY work |
| Bench grinder | Fast | Medium | Experienced users |
| Drill attachment | Medium | Medium | Quick touch-ups |
| Replacement blade | Very fast | Perfect | Damaged or very worn blades |
Service the Air Filter, Belts, Cables, and Tires
With the big jobs done, spend twenty minutes on the supporting cast. These parts rarely get attention, but they quietly determine how well your mower runs next season.
Air Filter
Open the air filter housing and look at the filter. A paper filter that is dirty or oily should be replaced. A foam filter can be washed in warm soapy water, squeezed out, dried completely, and lightly re-oiled with a few drops of engine oil. A clogged filter starves the engine of air and makes it run rich, so a fresh filter is one of the best returns on a few dollars.
Belts, Cables, and Controls
- Drive belts: on self-propelled and riding mowers, look for cracks, glazing, or fraying. Replace any belt that looks tired.
- Throttle and clutch cables: check that they move freely, and lubricate with a light spray if they stick.
- Pivot points and wheel axles: add a drop of oil or a dab of grease to keep them moving.
- Fasteners: check that the wheel bolts, handle bolts, and engine mounts are snug.
Tires and Wheels
On a riding mower, check tire pressure and top up to the figure printed on the sidewall. Storing a heavy machine on soft tires can cause flat spots. On a push mower, check that the wheel height adjusters move easily and clean any grass out of the wheel wells.
| Part | What to Check | Action |
|---|---|---|
| Air filter | Dirt, oil, damage | Clean foam or replace paper |
| Drive belt | Cracks, glazing | Replace if worn |
| Cables | Sticking or fraying | Lubricate or replace |
| Tires | Pressure, cracks | Inflate to spec |
| Fasteners | Loose bolts | Tighten |
Make a short list of any parts you spotted that need replacing. The off-season is the best time to order them, because you will not be racing the calendar when mowing season starts again.
Care for the Battery (Lead-Acid and Lithium-Ion)
Batteries are the most common reason a mower will not start after winter. They slowly lose charge when idle, and cold temperatures make that worse. A little attention now saves you from buying a new battery in spring.
Lead-Acid Batteries (Most Riding Mowers)
Remove the battery from the mower if you can, disconnecting the negative cable first and the positive second. Clean the terminals with a wire brush and a mix of baking soda and water, rinse, and dry. Charge the battery fully, then connect it to a smart battery maintainer or trickle charger for the winter. If you do not have one, store the battery in a cool, dry place off the concrete and top it up with a charger every month or so.
Lithium-Ion Batteries (Cordless Mowers)
Lithium batteries prefer a partial charge rather than a full one during long storage. Most manufacturers recommend somewhere around 40 to 60 percent, stored indoors where temperatures stay above freezing. Never leave a lithium pack in an unheated shed or hot attic, and keep it away from flammable items. Check the owner’s manual for brand-specific advice, since some systems have storage modes built in.
Cordless Advantages
- No fuel or oil to manage
- Less to winterize overall
- Quieter, simpler storage
Cordless Cautions
- Battery must be stored correctly
- Freezing temperatures can shorten life
- Still needs blade and deck care
If you use a lead-acid battery in a mower that you only use once a week, a maintainer is one of the best small investments you can make. Replacing a dead battery is far pricier than the little device that keeps it alive.
Store the Mower in the Right Place and the Right Way
You have done the hard work. The last step is to put the mower somewhere it will stay safe, dry, and undisturbed until spring. Where and how you store it matters more than most people realize.
Choosing the Spot
- Dry: a shed or garage that does not flood or leak is ideal.
- Ventilated: some airflow prevents condensation.
- Away from ignition sources: keep a fuel-containing mower clear of water heaters, furnaces, or other pilot-light appliances.
- Level and stable: store the mower on its wheels unless the manual says otherwise.
Cover and Protection
Use a breathable fabric cover to keep off dust, without trapping humidity. Avoid plastic tarps wrapped tightly around the mower, because they can create a greenhouse effect and encourage rust. If you must store the mower outside, which is not recommended, use a waterproof but vented cover, elevate the mower on boards, and expect to do extra checks in spring.
Space-Saving Tricks
Many push mowers have a fold-down handle and can be stored vertically on their rear wheels to save floor space. Only do this if your manual approves it and only after the fuel is stabilized, because tipping the mower can leak oil into the air filter or carburetor. For small spaces, a wall hanger or shelf keeps hand tools and the battery off the floor.
| Storage Location | Rating | Notes |
|---|---|---|
| Insulated garage | Excellent | Stable temperature, easy access |
| Backyard shed | Good | Raise off the ground, ventilate |
| Basement | Fair | Check fuel and fumes policy first |
| Open yard with cover | Poor | Only as a last resort |
Before you walk away, take one last look. Wipe a light film of oil on any bare steel parts, like the blade bolt, to slow rust. Put a note on the handle with the date you winterized and the things you replaced, so you never have to guess next fall.
Mower Types, Common Mistakes, and Your Spring Startup Checklist
Not every mower needs exactly the same attention. Here is how the steps above apply to the different kinds you are likely to own, followed by the mistakes to avoid and a short checklist for the first mow of spring.
How Winterizing Differs by Mower Type
| Mower Type | Fuel | Oil | Battery | Special Notes |
|---|---|---|---|---|
| Gas push mower | Stabilize or drain | Change | None (pull start) | Easiest to winterize |
| Self-propelled | Stabilize or drain | Change | Maybe, for electric start | Check drive cable and belt |
| Riding mower | Stabilize, fill the tank | Change, replace filter | Maintainer recommended | Grease fittings, check tires |
| Cordless electric | Not applicable | Not applicable | Store at partial charge | Clean deck and blade |
| Robotic mower | Not applicable | Not applicable | Store indoors, charged as directed | Clean and store the base |
Seven Mistakes That Cause Spring Headaches
- Leaving old or untreated gas in the tank. This is the number one cause of no-start problems.
- Skipping the five-minute run after adding stabilizer. The treated fuel needs to reach the carburetor.
- Tipping the mower the wrong way. Air filter or carburetor side down can flood the system with oil or fuel.
- Forgetting to disconnect the spark plug. A safety issue, not just a convenience.
- Storing a lead-acid battery on a cold floor without charging it. It will slowly discharge and may freeze.
- Covering a damp mower with a plastic tarp. Trapped moisture leads to rust.
- Over-tightening or under-tightening the blade bolt. Both are risky.
Your Spring Startup Checklist
- Check the oil level and top up if needed.
- Inspect the fuel and add fresh gas if the tank has been sitting.
- Reconnect the battery or spark plug wire and check the blade once more.
- Inflate tires and test the controls.
- Run the mower in an open area for a few minutes before the first full cut.
Your mower is only part of the equation. Spring is also a good moment to plan your turf care calendar, including when to fertilize your lawn and when to overseed, so your well-tuned mower has something healthy to cut.
Frequently Asked Questions About Winterizing a Lawn Mower
What does it mean to winterize a lawn mower?
Winterizing means preparing your mower for months of storage by stabilizing or draining the fuel, changing the oil, replacing the spark plug, cleaning the deck, sharpening the blade, servicing the filters and belts, and caring for the battery. The goal is to prevent corrosion, stale fuel problems, and a dead battery so it starts easily next season.
Should I drain the gas or use fuel stabilizer?
Both methods work. Stabilizer is the easier route for most homeowners: add it to fresh fuel, then run the engine for about five minutes. Draining the tank and carburetor is a good choice if you are storing the mower in a tight indoor space or for a long period. Pick whichever you will actually do consistently.
How long can gas sit in a lawn mower?
Untreated ethanol-blended gasoline can begin breaking down in about a month or two. With a good stabilizer, fuel can stay usable for many months, though the exact time depends on the product and storage conditions. For best results, start with fresh gas and follow the dose on the bottle.
Do I need to change the oil before winter storage?
It is strongly recommended. Used oil contains acids and contaminants that can damage internal parts when left to sit. Changing it while the engine is warm gets the most contaminants out. Two-stroke engines that use mixed fuel have no crankcase oil to change.
Is it okay to store a mower with a full tank of gas?
Yes, as long as the fuel has been treated with stabilizer and the engine has been run so the treated fuel reaches the carburetor. A full tank leaves less air space for condensation. Keep the mower away from furnaces, water heaters, and other ignition sources.
Can I tip my mower on its side to clean the deck?
Yes, but tip it with the air filter and carburetor facing up. Tipping the wrong way can let oil or fuel flow into the air system, causing smoke and hard starting. Always disconnect the spark plug wire first, and check your manual for model-specific advice.
How often should I sharpen my mower blade?
A good rule is once a season, with an extra touch-up midseason if you mow a lot or hit debris. Sharpening in the fall means the blade is ready for spring. Replace the blade if it is cracked, bent, or has worn thin.
How do I winterize an electric or battery-powered mower?
There is no fuel or oil to manage, so the job is simpler. Clean the deck, sharpen or inspect the blade, and store the battery indoors at a partial charge, around half, in a space that stays above freezing. Follow your manufacturer’s specific instructions for the battery.
How should I winterize a riding lawn mower?
Follow the same core steps: stabilize the fuel, change the oil and oil filter, replace the spark plugs, clean the deck, sharpen the blades, grease the fittings, check the tires, and put the battery on a maintainer. Riding mowers also benefit from checking the drive belts and parking brake before storage.
Do I need to winterize a mower in a mild climate?
If you mow all year, you do not need a full winterizing. But if you will store the mower for a month or longer, it is still wise to stabilize the fuel and charge or remove the battery. A seasonal oil change and blade sharpening are good habits in any climate.
Can I store my mower outside under a tarp?
It is not ideal. Moisture, temperature swings, and pests can all cause damage. If you have no choice, use a vented, waterproof cover, raise the mower off the ground, and inspect it for rust and nests before the first spring start.
What should I do first when spring arrives?
Check the oil level, inspect the fuel and replace it if it has been sitting a long time, reconnect the spark plug wire or battery, check the blade bolt and tire pressure, and run the engine for a few minutes in an open area before mowing. A quick walk-around catches most small issues before they become big ones.
How much does it cost to winterize a mower myself?
For a typical gas push mower, the consumables, which include stabilizer, oil, a spark plug, and an air filter, usually cost far less than a professional tune-up. After the first year, you will mostly be replacing consumables, since the tools are reusable.
Final Thoughts: A Little Work Now, a Lot Less Stress Later
Winterizing a lawn mower is not glamorous, but it is one of those jobs that pays you back every single spring. Stabilize or drain the fuel, change the oil, swap the spark plug, scrape the deck, sharpen the blade, service the filter and belts, look after the battery, and store the machine somewhere dry. Do those eight things and the odds of a frustrating no-start morning drop dramatically.
The best part is that the routine becomes automatic. After your first season, you will know exactly where everything is, which tools to grab, and how long each step takes. Your mower will run better, your cut will look cleaner, and you will keep more money in your pocket instead of in a repair shop.
Pick a mild afternoon, gather your supplies, and work through the steps one at a time. When the grass wakes up next spring, your mower will be ready.
You May Also Like
Keep your lawn as healthy as your mower with these related guides.